In this article:
What is an automated segmentation scenario?
It's a scenario based on search criteria. In order for a contact to begin the journey through your scenario, it must match in every way the criteria you have selected, enabling you to reach a very precise target. Once set up, there's nothing more to do! Your emails will be sent automatically every time a new subscriber meets the specified criteria.
Examples of automated segmentation scenarios
You could use this trigger to:
- Invite your top customers to join a VIP club
For example, if you have created a custom field to save each customer's total amount of purchases and total number of purchases, the trigger criteria could be:
Contacts corresponding to at least one criteria:
Total amount of purchases is greater or equal to 5.
Total number of purchases is greater or equal to 100,00 $.
- Send a satisfaction survey to contacts who have opened at least 3 emails
Here's what your trigger would then look like:
Contacts corresponding to all criteria:
Opened mailings is greater or equal to 3.
- Engage your less active members with a special promotion
For example, you could select these criteria:
Contacts corresponding to all criteria:
(Number of) Mailings received is greater or equal to 6.
Average open rate is lesser than 15%.
- Ask contacts with missing information to update their profile
For example, if you plan to send birthday emails, but this information is missing for some subscribers, you could ask them to complete their profile by sending them an update profile form:
Contacts corresponding to all criteria:
Birthdate field is not set.
List of available criteria
All criteria from the advanced contact search can be used to trigger a segmentation scenario. You can select up to 20 criteria.
Here is the list of all available criteria:
- First name
- Last name
- Subscription date
- Update date
- Language
- Gender
- Country
- Company
- Consent
- Consent source
- Consent date
- Consent expiration
- Consent proof
- Birthdate
- Birthdate (ignoring year)
- Postal code
- Note
- Group
- Number of mailings (received)
- Number of opened mailings
- Number of emails clicked
- Date of last mailing opened
- Average open rate
- Average click rate
- Custom fields (all types)
How to
- Go to the menu and click the New scenario button.
%20%2B%20GREEN%20ARROW.png)
- In the Contact list segmentation section, choose the pre-built scenario Automatically send an email to contacts that meet specific criteria.
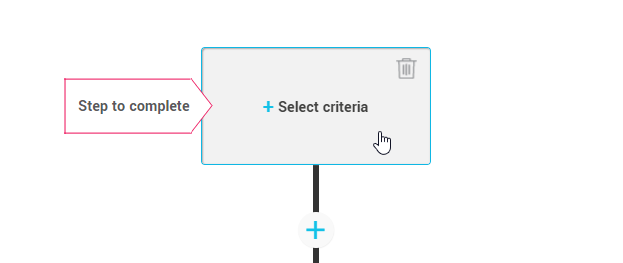
- Click Select criteria in the first step to set up the trigger for your scenario.
-
In the window that will open, choose whether the subscriber must meet All criteria or At least one of the criteria.
-
Then, click on + Add search criteria. When you are done adding your criteria, click on Edit >.
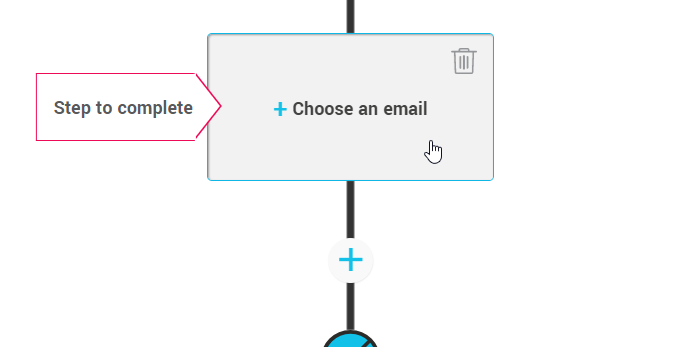
- Back in your scenario, click on Choose an email to complete the emailing step.
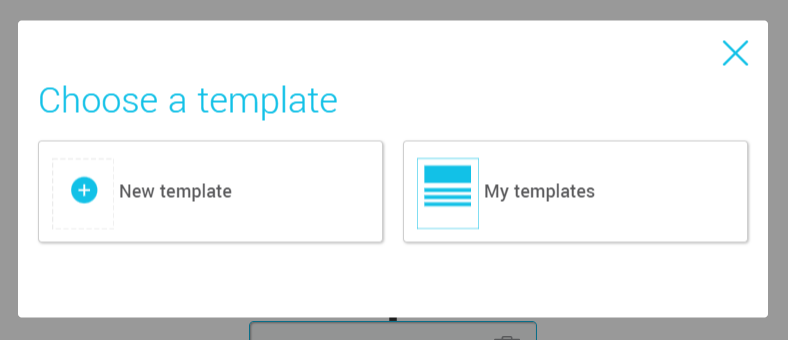
- In the Choose a template window, if you have already prepared your template, select My Templates. If your template has not yet been created, select the New template option instead. Then follow the steps on the screen to complete your mailing's settings.
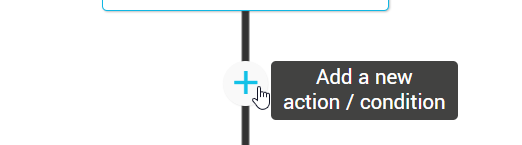
- Add, if need be, other actions, wait periods or conditions to your scenario.
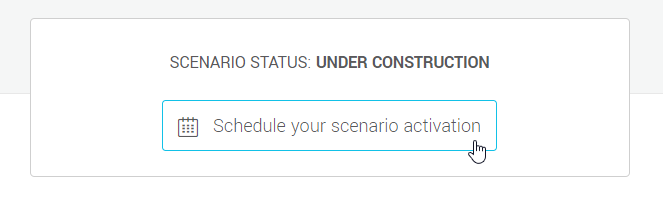
- Before finishing, don't forget to save your scenario. When your scenario is complete and ready to be used, configure its activation. Learn more >